Step-by-Step Guide to Designing Your Dream Dress Online
Master the art of online dress design with our comprehensive guide covering everything from vision to final production.

Step-by-step guide to designing your dream dress online
The digital revolution has made dress design more accessible by reducing reliance on specialized skills and resources. With AI-powered tools and a global manufacturer network, it's now easier for non-experts to develop custom dress concepts. This guide walks you through each step, from initial inspiration to final production, so you can bring your vision to life with confidence. Fashion Institute of Technology offers comprehensive resources on fashion design principles and techniques.
Step 1: Define your vision
Before diving into design tools, take time to clarify your vision. This foundation will guide every subsequent decision.
Occasion planning
Consider the specific event or purpose for your dress:
- Wedding: Traditional, modern, or destination wedding requirements
- Prom: School theme, color preferences, and comfort for dancing
- Formal event: Black tie, cocktail, or business formal expectations
- Casual wear: Daily use, weekend events, or special occasions
- Special celebrations: Quinceañera, graduation, or milestone birthdays
Style inspiration
Gather visual references to communicate your aesthetic:
- Pinterest boards: Create boards for different style elements (necklines, silhouettes, colors)
- Mood boards: Physical or digital collages combining textures, colors, and styles
- Reference images: Save photos of dresses you love, noting specific details
- Fashion magazines: Tear out pages or save digital images that inspire you
- Celebrity style: Note red carpet looks or street style that appeals to you
Personal preferences
Document your style preferences:
- Color palette: Colors that flatter your skin tone and make you feel confident
- Fabric preferences: Textures and materials you love or want to avoid
- Fit preferences: How you like clothes to fit (fitted, relaxed, structured)
- Comfort requirements: Activities you'll be doing while wearing the dress
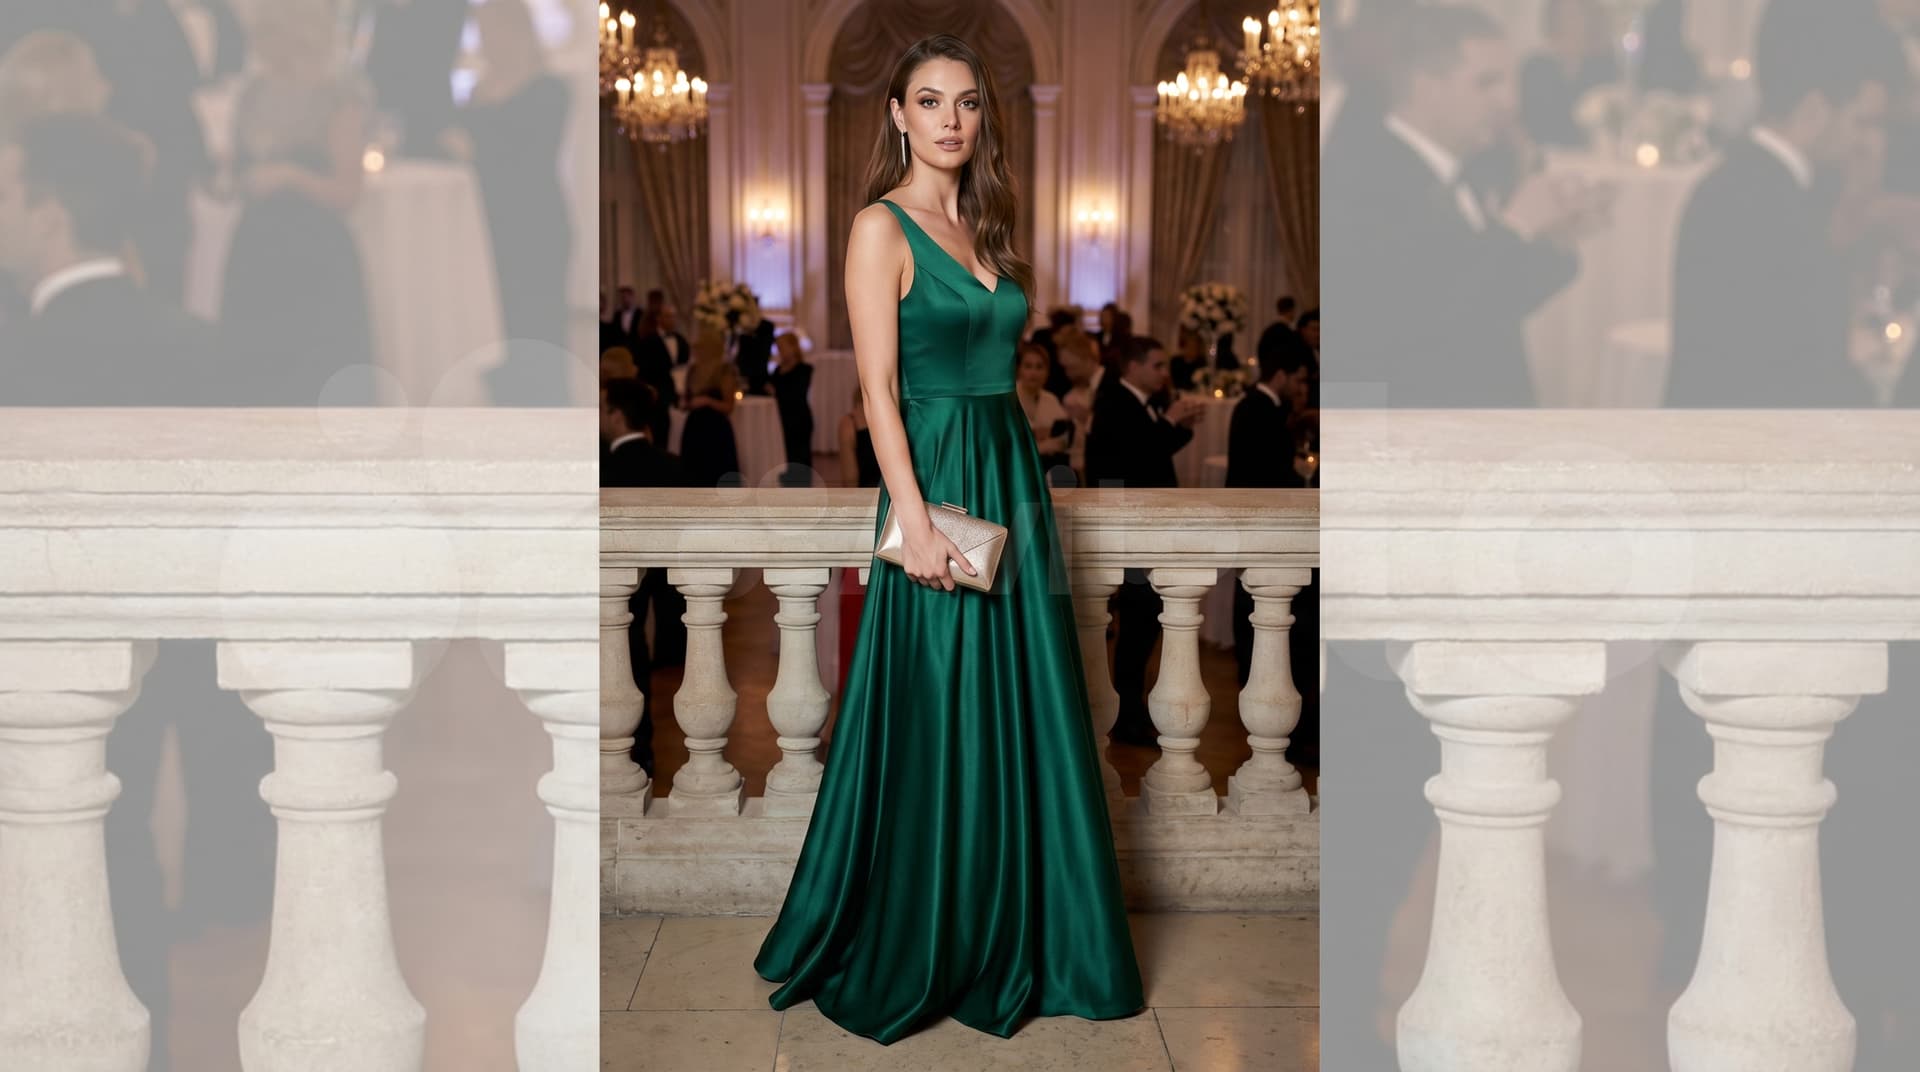
Step 2: Choose your silhouette
The silhouette is the foundation of your design. Understanding options helps you choose the most flattering style for your body type and occasion.
A-line
Best for: Most body types, especially pear-shaped figures Characteristics: Fitted at the waist, gradually widening toward the hem Occasions: Versatile for casual to formal events Customization: Can be subtle or dramatic depending on the flare
Mermaid/trumpet
Best for: Hourglass and straight figures Characteristics: Fitted through the hips, flared from the knee Occasions: Formal events, parties, special occasions Customization: Vary the flare point and intensity
Ballgown
- Best for: Creating dramatic volume and formal presence
- Characteristics: Fitted bodice with full, voluminous skirt
- Occasions: Weddings, galas, formal events
- Customization: Adjust fullness and train length
Sheath
- Best for: Straight and hourglass figures
- Characteristics: Straight, body-skimming silhouette
- Occasions: Professional settings, cocktail parties
- Customization: Vary fit from loose to body-hugging
Empire
- Best for: Apple-shaped figures and those wanting comfort
- Characteristics: High waistline just below the bust
- Occasions: Casual to semi-formal events
- Customization: Adjust waist placement and skirt fullness
Step 3: Select key design elements
These elements define your dress's character and ensure it matches your vision.
Neckline options
- Sweetheart: Romantic, flattering for most body types
- V-neck: Elongates the neck, great for shorter torsos
- Scoop: Classic, versatile for all occasions
- Off-shoulder: Dramatic, perfect for special events
- Halter: Athletic, great for showing off shoulders
- High neck: Modest, sophisticated for professional settings
Sleeve styles
- Sleeveless: Versatile, great for layering
- Cap sleeves: Subtle coverage, feminine touch
- Short sleeves: Comfortable, professional appearance
- Long sleeves: Formal, elegant for evening wear
- Bell sleeves: Dramatic, bohemian aesthetic
- Bishop sleeves: Vintage-inspired, romantic feel
Length considerations
- Mini: Playful, great for casual events
- Knee-length: Professional, versatile for work
- Midi: Sophisticated, perfect for semi-formal events
- Maxi: Elegant, ideal for formal occasions
- Train: Dramatic, reserved for special events like weddings
Embellishments and details
- Beading: Adds sparkle and luxury
- Lace: Romantic, vintage appeal
- Sequins: Glamorous, perfect for parties
- Embroidery: Artisanal, unique character
- Ruffles: Feminine, playful movement
- Pleats: Structured, architectural interest
Step 4: Use AI to visualize
AI technology makes it possible to see your dress before it's made, allowing for rapid iteration and refinement.
Natural language description
Describe your vision in everyday language:
- "A flowing maxi dress in emerald green with a sweetheart neckline"
- "A structured A-line dress in navy blue with cap sleeves and subtle beading"
- "A romantic prairie dress with tiered skirt and puff sleeves in soft pink"
Iterative refinement
Work with the AI to refine your design:
- Adjust proportions: Make sleeves longer or shorter
- Modify details: Change neckline or add/remove embellishments
- Experiment with colors: Try different color combinations
- Test variations: See how small changes affect the overall look
Visual feedback
Use the AI's visual output to:
- Confirm your vision: Ensure the design matches your mental image
- Identify improvements: Spot areas that need adjustment
- Share with others: Get feedback from friends or family
- Make final decisions: Choose the version you love most
Step 5: Material selection
Fabric choice significantly impacts your dress's look, feel, and care requirements.
Fabric types by occasion
- Wedding dresses: Silk, satin, organza, tulle, lace
- Prom dresses: Sequins, chiffon, taffeta, velvet
- Summer casual: Cotton, linen, jersey, rayon
- Evening formal: Crepe, charmeuse, brocade, duchess satin
Understanding fabric characteristics helps ensure your dress performs well for its intended occasion. Textile World provides comprehensive information on fabric properties and applications.
Color considerations
- Skin tone matching: Choose colors that enhance your natural coloring
- Occasion appropriateness: Consider the event's formality and theme
- Seasonal factors: Lighter colors for spring/summer, deeper tones for fall/winter
- Personal preference: Select colors that make you feel confident
Texture and weight
- Lightweight fabrics: Perfect for flowing, romantic styles
- Medium-weight fabrics: Versatile for most dress types
- Heavy fabrics: Ideal for structured, formal designs
- Stretch considerations: Important for fitted silhouettes
Step 6: Review and measurements
Accurate measurements ensure your dress fits perfectly.
Essential measurements
- Bust: Measure around the fullest part of your chest
- Waist: Measure around your natural waistline
- Hips: Measure around the fullest part of your hips
- Length: Measure from shoulder to desired hemline
- Additional measurements: Arm length, shoulder width, back width
Accurate measurements are crucial for a perfect fit. Vogue's fashion guides provide detailed instructions on taking professional measurements for custom garments.
Measurement tips
- Use a flexible tape measure: Ensure it's not stretched or loose
- Measure over appropriate undergarments: Wear what you'll wear with the dress
- Get help: Have someone else take measurements for accuracy
- Double-check: Measure twice to ensure accuracy
- Consider fit preferences: Specify if you prefer fitted or relaxed fit
Fit preferences
- Fitted: Close to the body, shows your shape
- Semi-fitted: Some ease, comfortable but defined
- Relaxed: Loose and comfortable, less structured
- Custom fit: Specify exact preferences for each area
Step 7: Connect with a manufacturer
The right manufacturer can make or break your dress design.
Request process
- Submit your design: Share your AI-generated design and specifications
- Provide measurements: Include all necessary sizing information
- Specify timeline: Communicate your deadline requirements
- Ask questions: Inquire about their process and capabilities
Quote comparison
- Get multiple quotes: Compare prices for several designs
- Understand pricing: Ask what's included in the quoted price
- Consider quality: Balance cost with expected quality level
- Factor in shipping: Include delivery costs in your budget
Timeline expectations
- Design review: Often 1–3 business days for initial feedback, depending on manufacturer workload
- Production time: Often 2–8 weeks, but timelines can vary widely based on complexity and location
- Final delivery: Typically 1–2 weeks after final approval, depending on shipping destination and customs
Step 8: Production and fitting
Stay involved throughout the production process to ensure your dress meets your expectations.
Communication during production
- Regular updates: Request progress photos and updates
- Ask questions: Don't hesitate to clarify any concerns
- Provide feedback: Share your thoughts on work-in-progress photos
- Stay flexible: Be open to minor adjustments if needed
Quality assurance process
- Progress photos: Review work-in-progress images from the manufacturer
- Measurement verification: Confirm your measurements are being followed correctly
- Detail review: Check that design elements match your specifications
- Final approval: Review final photos before shipping
Final delivery
- Quality inspection: Check the dress thoroughly upon arrival
- Care instructions: Understand how to care for your dress
- Storage recommendations: Learn how to store your dress properly
- Wear and enjoy: Celebrate your custom creation!
Frequently asked questions
How long does the entire design process take?
The design phase typically takes 1–2 weeks, and production often takes 2–8 weeks depending on complexity and manufacturer location. Many customers complete the process in 6–10 weeks, but timelines may vary.
What’s a realistic cost estimate for a custom dress?
Costs vary based on fabric, complexity, and manufacturer. Simple cotton dresses typically start around $200–400; more elaborate gowns may range from $500–700 or higher depending on design details and maker.
How many revision rounds are typical?
Most manufacturers allow 2–3 rounds during the design phase. Changes during production may incur extra costs.
How accurate do my measurements need to be?
Very accurate, small errors significantly affect fit. Consider professional measurements for important occasions.
How do I communicate effectively with manufacturers?
Be specific about your vision, ask questions, and provide clear feedback. Photos and detailed descriptions help align expectations.
Begin your design, from idea to delivery, get started now with guided steps at every stage.